
Hubby doesn't wear ties that often, or ever, so I went to a thrift store and found a few colorful patterned ties. I thought they would be a bit cheaper (they were $4.00 each) but I guess even the Salvation Army needs to make some money. I knew the ties needed to be 100% silk (or some said "all silk") in order to work.

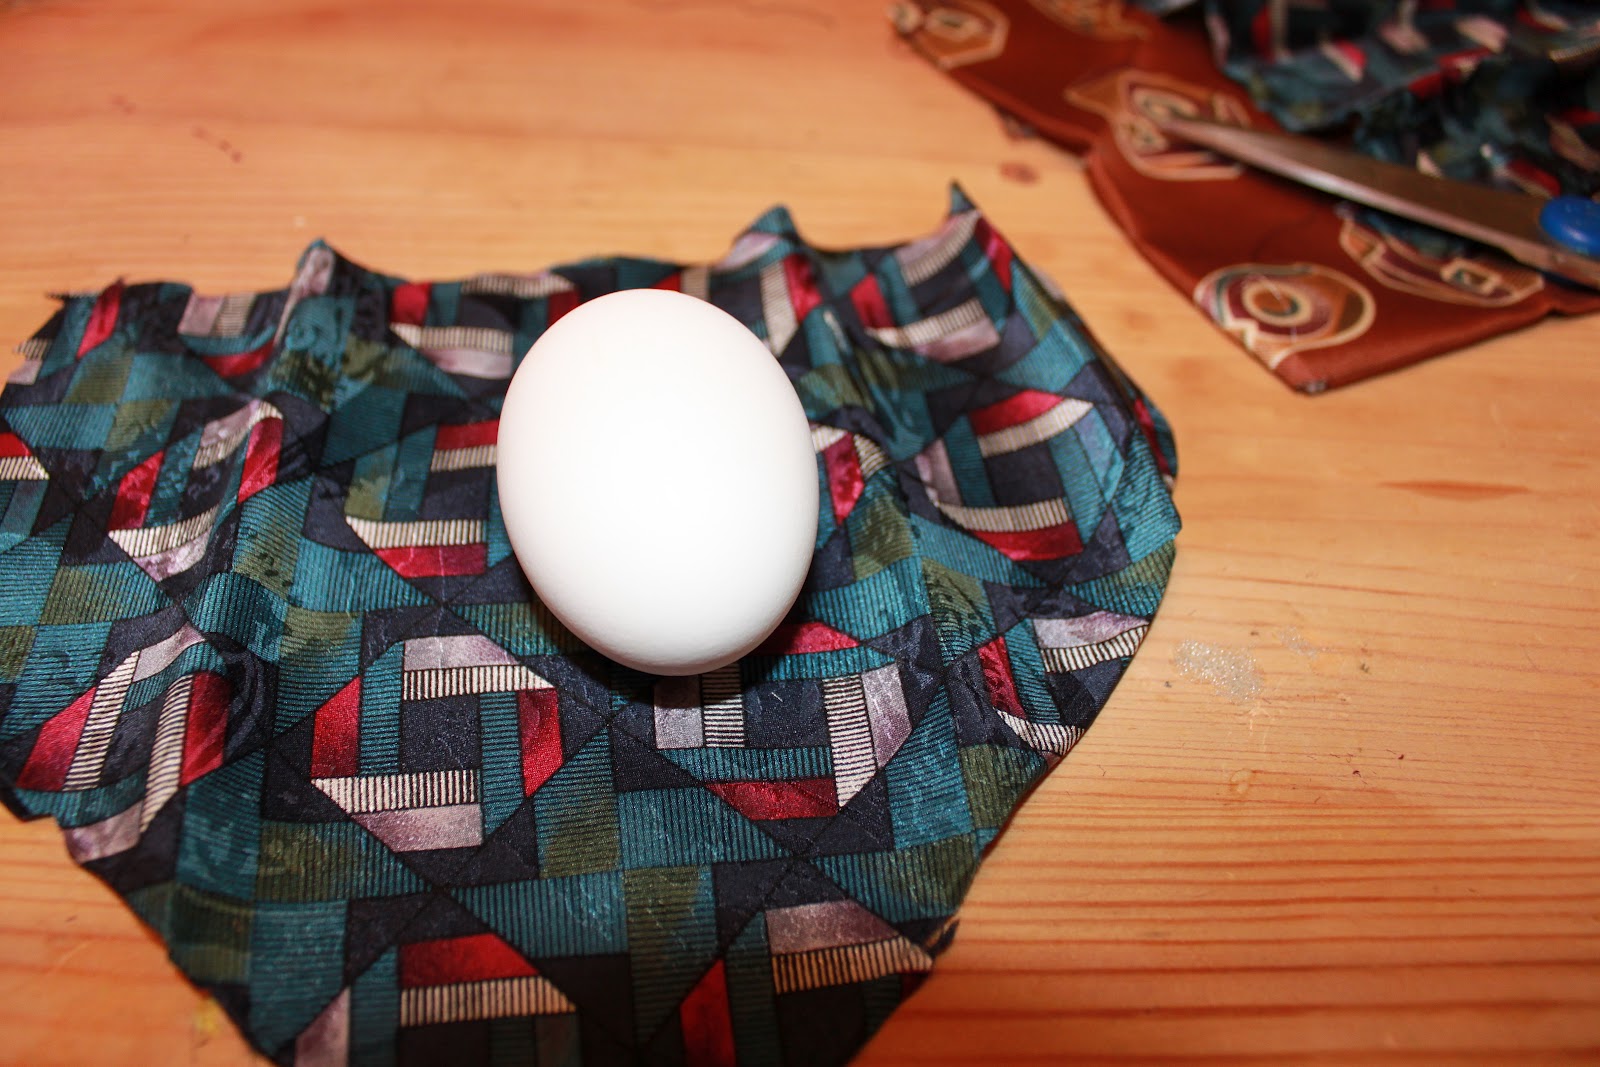
I wrapped the eggs in the scraps of silk and used a rubber band to secure them tightly. As I got to the skinnier part of the tie it became more difficult to wrap the egg in an entire piece. I improvised and made a cross shape which seemed to work out fine.

Some of the tutorials I've seen online say your next step is to cover the entire egg in thread or to cover it with a piece of fabric such as an old pair of pantyhose. There was no reason given for this so I skipped it. I feel like if you can't tell me why I need to do something, then I won't. I'm pretty damn stubborn that way.

Next I placed the eggs into a pot of boiling water that had about 2 tablespoons of vinegar added to it. I didn't measure exactly, I just poured. :) I let them simmer for 20 minutes. I read that for better results you can simmer longer, up to 40 minutes. I needed to be somewhere & I was pressed for time so 20 minutes it was.

After the eggs have simmered for your desired time, allow them to cool and unwrap them. I have to admit, I was like a kid on Christmas. I was so excited to see what each would look like. I placed the eggs on a paper towel until they were completely dried.

Here are a few tips I've learned:
1. Make sure you buy your eggs the day before Easter. It was slim pickings at several grocery stores near me. I literally bought the last carton of eggs in my neighborhood. Of course they were the expensive organic, extra omega something or others...but they were eggs none the less.
2. I think covering the eggs with the tread might have been a good option. I assume it may have helped the silk to stay in contact with the egg a little better, thus transfering a better pattern.
3. I still have no idea what the hell the pantyhose does.
4. You shouldn't eat these eggs. They are for decoration ONLY. I saw some fiber artist talking about how it's not a good idea. Also, she says that you should dye these in a separate pot that you would use normally. Luckily I had an old dye pot from when I was in school for textile design.
Here is the final result. I think they look so pretty on my table in the DIY thriftstore dessert stand I made. :)

Happy Easter everyone. Hope the Easter bunny is good to you!

For some reason my button isn't working..so I'm linking upto the bunny-hop Easter link party with Happy hour projects and Mrs. Fox's sweets.
Thanks for visiting my blog. Following you back via GFC and pinterest.
ReplyDeleteWow! That is so awesome! I cannot wait to try this next year :D
ReplyDeleteDefinitely a new follower!